Monday 28 November 2011

Applying paint without brushes

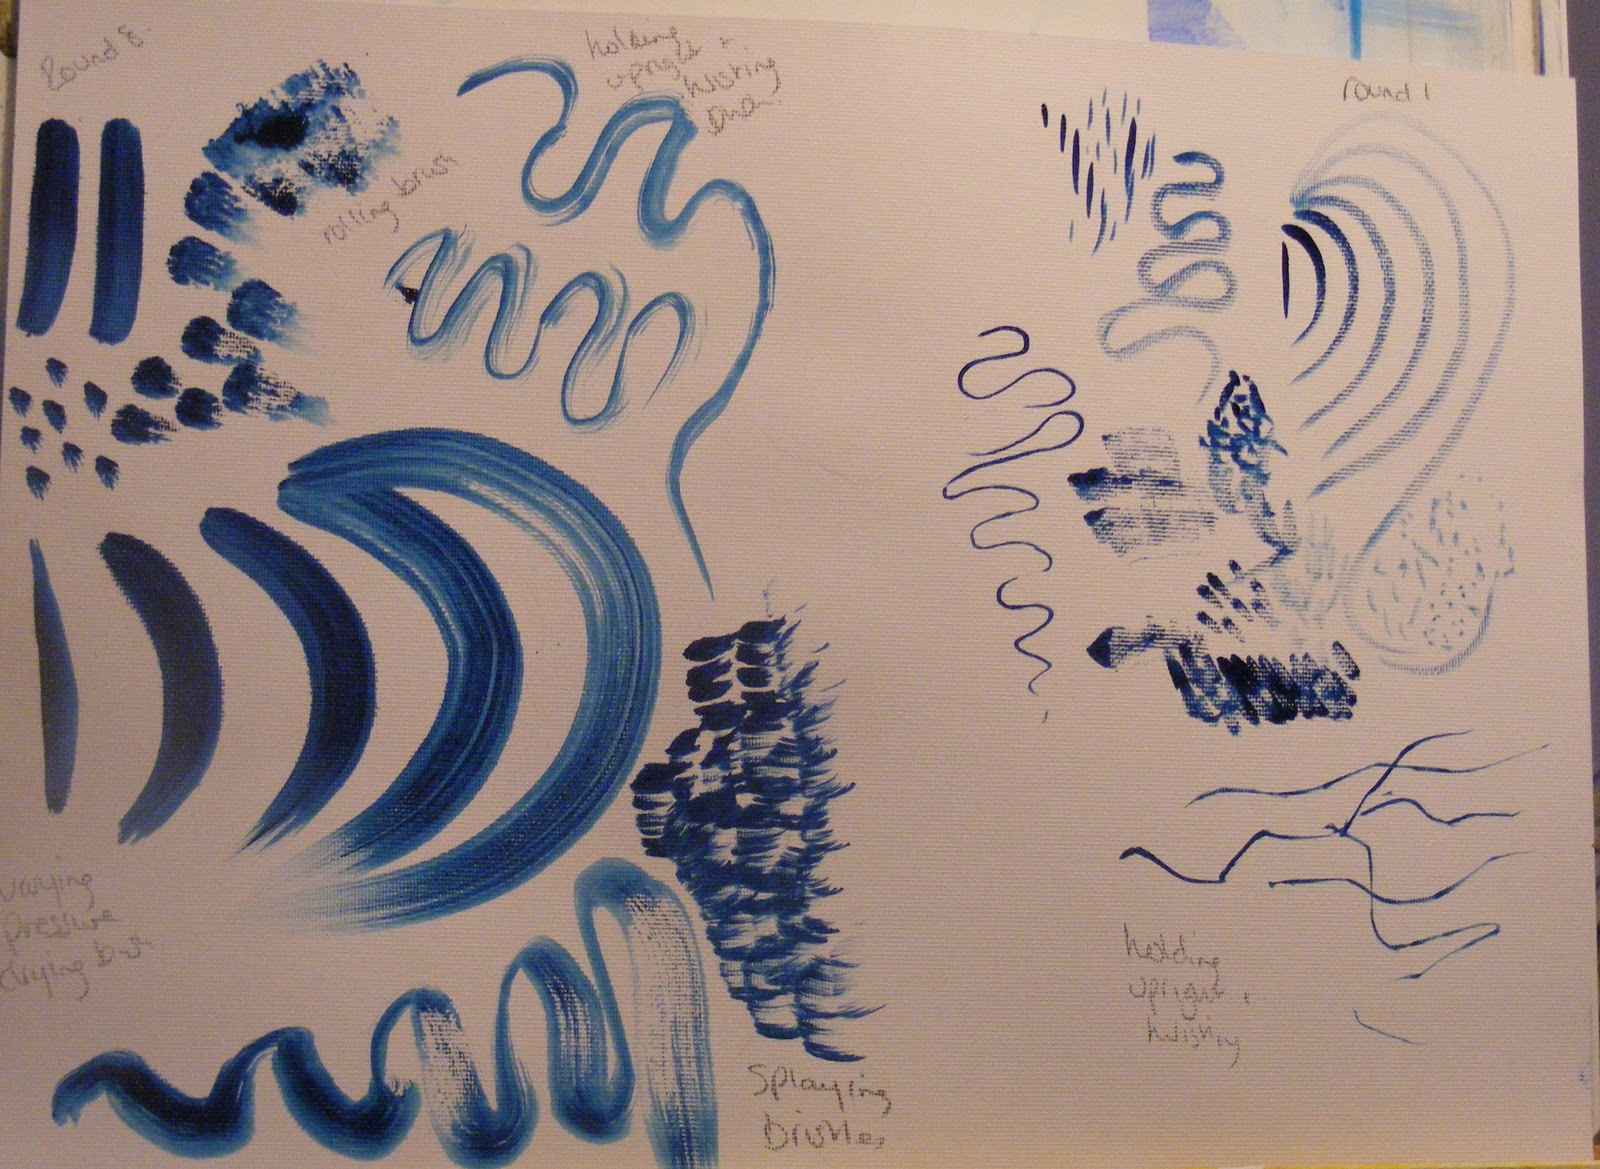
I experimented here with a variety of objects: rag, kitchen towel, fingers, foam square from packaging, a piece of corrugated cardboard, toothbrush, feather and an old credit card.  Smearing with rags and fingers made a more textured, broken and multi-tonal effect than applying paint with a brush and could be useful to create an interesting backdrop to, say, a still life or portrait.


Pulling down applied paint with an implement, such as a credit card or the corrugated cardboard was also a good technique to create textured effects.


I also practised with a palette knife, small painting knife and a sponge.  I liked the effect of applying colours over each other and dragging off with a palette knife – again, a much more interesting surface than a brush applied finish.


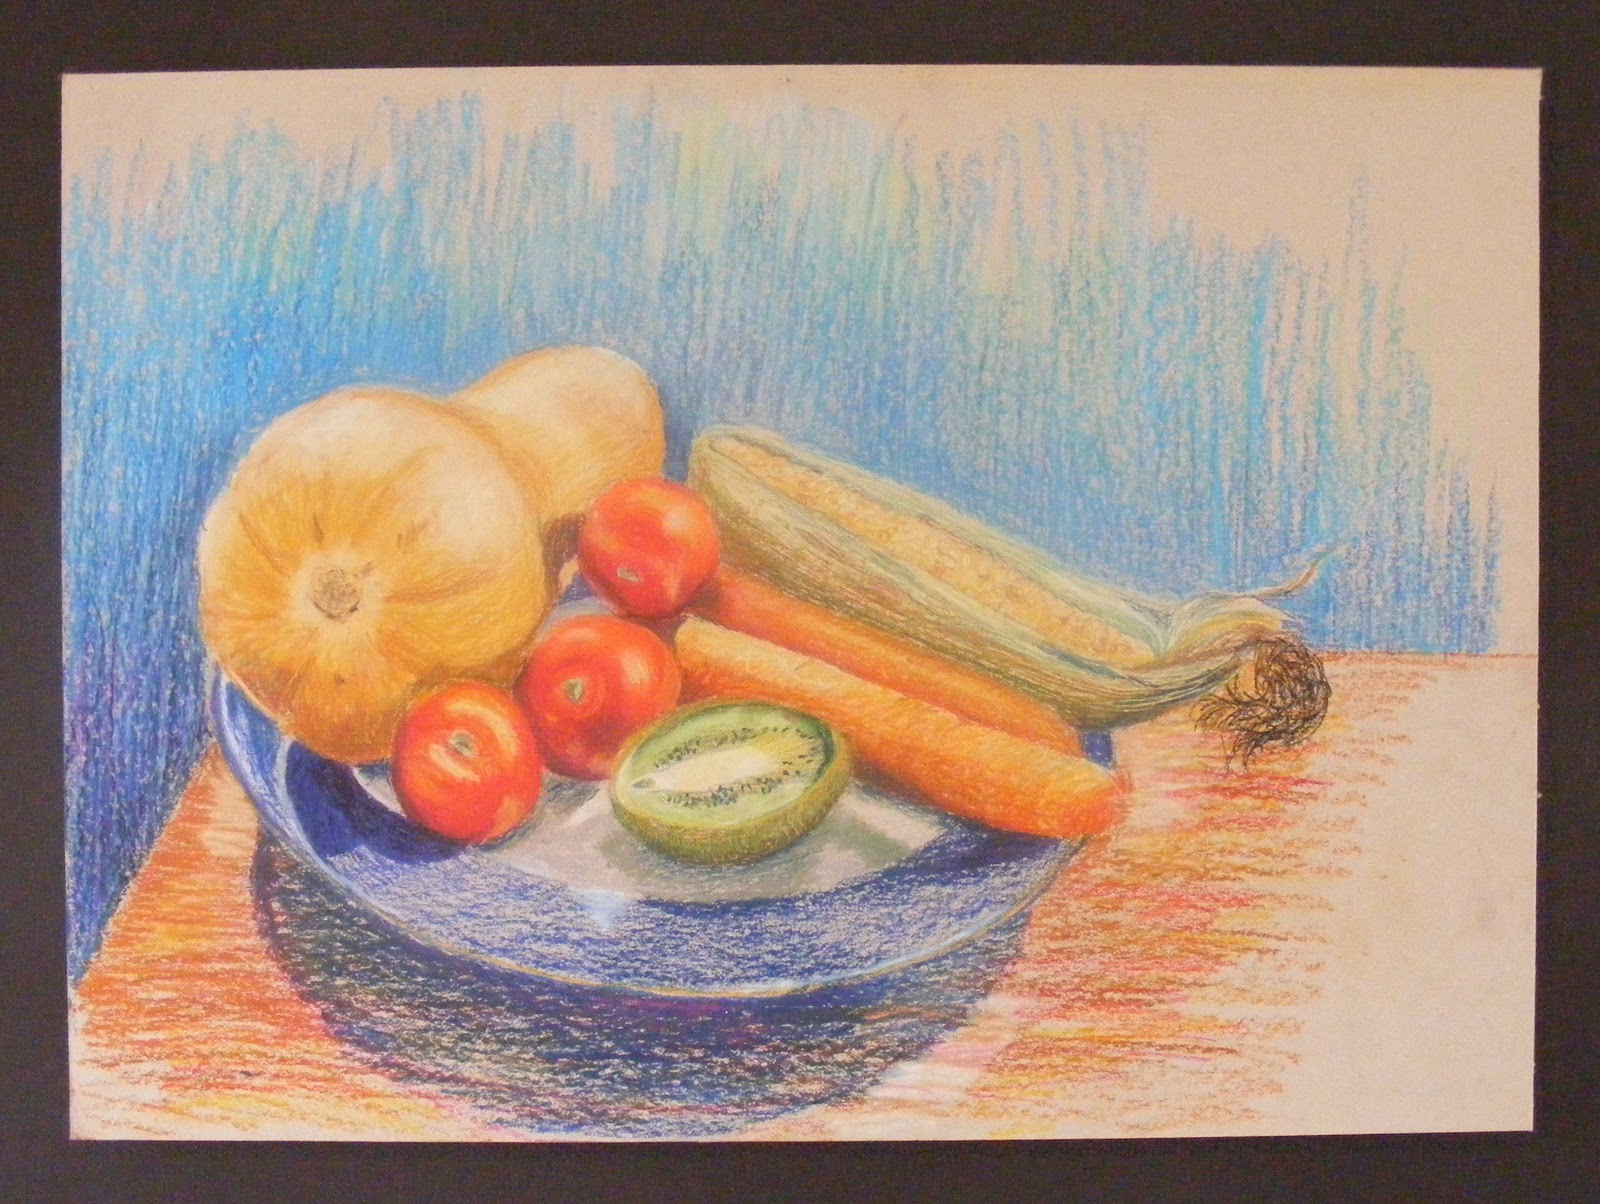
Painting with Pastels

As I have just completed the “Drawing 1” course – I decided to skip the exercise on painting with pastels as I completed a number of drawings in all the pastel media – oil pastels, soft pastels, hard pastel sticks and pastel pencils – very recently.   One of my favourite pieces was the still life in oil pastels reproduced below (roughly A2 size):


Basic Paint Application

Small Landscape from memory


First oil painting in about 5 years!  Only used three brushes on this one to concentrate on the marks the brushes can make – a large flat, large round and filbert brushes – and tried to keep it simple with the colours as well – only using two greens, ultramarine, red and white. 

I painted two apples (on A4 oil paper) to concentrate on brush marks – the first using only the large and small flat brushes:


I found the flat brushes worked very well for the subject of this oil sketch.  As the apple was highly coloured, with lots of surface marking, the flat brushes made the process of depicting them much easier – apart from the basic shape, I mainly used the tips and sides of the brushes to get the striations and light blotches on the apples.  I learned that the flat of the brush was excellent for describing the highlights on the fruit as these naturally form lines on the fruit.

I decided to create another sketch – this time using on the round brushes and filbert – and two shades of green, plus black and white.  I practised using dabs of colour before blending loosely to show all the tones of the apples, using a dry brush to wipe out the colour for the reflected shadow and added daubs of pure white for the highlights. 


Project - Basic Paint Application


The first section of the course asks us to explore the range of marks and shapes that can be made by brushes of different sizes and shapes.  I completed a few pages using ultramarine oil paint, thinned with a turps.  I also used different strengths of paint to see how this would affect the mark-making:


On the above sheet, the marks on the left were made with a Flat 6, and those on the right with a cheap round bristle brush I already had in.  I found the flat brush very good for making regular marks – both lines using the tip and sides, and squares/rectangles – and textural marks, especially by splaying the brush slightly to give a stripy effect. 


The marks made by the cheaper brush were more irregular but the dabs and marks made by rolling the brush on the paper were more textural than those made by more expensive brushes.

The sheet below uses a Flat 12 (left side) and the Fan 4 (right side).  Although probably by accident, the fan brush has picked up different strengths of paint across the width, and this has made some really interesting marks on the paper, combined with the paint that is more dilute.  This could really be exploited for creating very three-dimensional marks with a single brush stroke.

The Flat brush can make very uniform rectangles, thick and thin lines but also makes interesting broad sweeps and, when splayed slightly, gives very textural qualities.


This sheet has a Filbert 12 (left side) and short flat 2 on the right.  I have never used a filbert before and can see how it would be very useful for texture and for trees/shrubs in landscape paintings.


This sheet is a round 8 (left hand) and a fine, round 1 (right side) for detail work.


Thursday 24 November 2011

New course, new learning log!

Welcome to my online learning log!


Just started the Practice of Painting course through OCA so decided to keep an online blog alongside my (more traditional!) learning logs and sketch books.  I have really enjoyed looking through others' work online in the past, and have found it very helpful, so decided to join in.


A bit about my OCA journey so far - have completed (and passed) the Understanding Western Art course and have completed (and am awaiting assessment) for Drawing 1.  


I am hoping to mainly complete the Practice of Painting in oils as I much prefer to use this medium, although I will be using acrylics for some assignments - if only for the speed of drying.  I am aware that using oils will slow me down a little, so need to be organised and probably work on a number of projects at the same time to allow for drying times.


Hoping to post photos of most of my work (once I've worked out how to do this!).